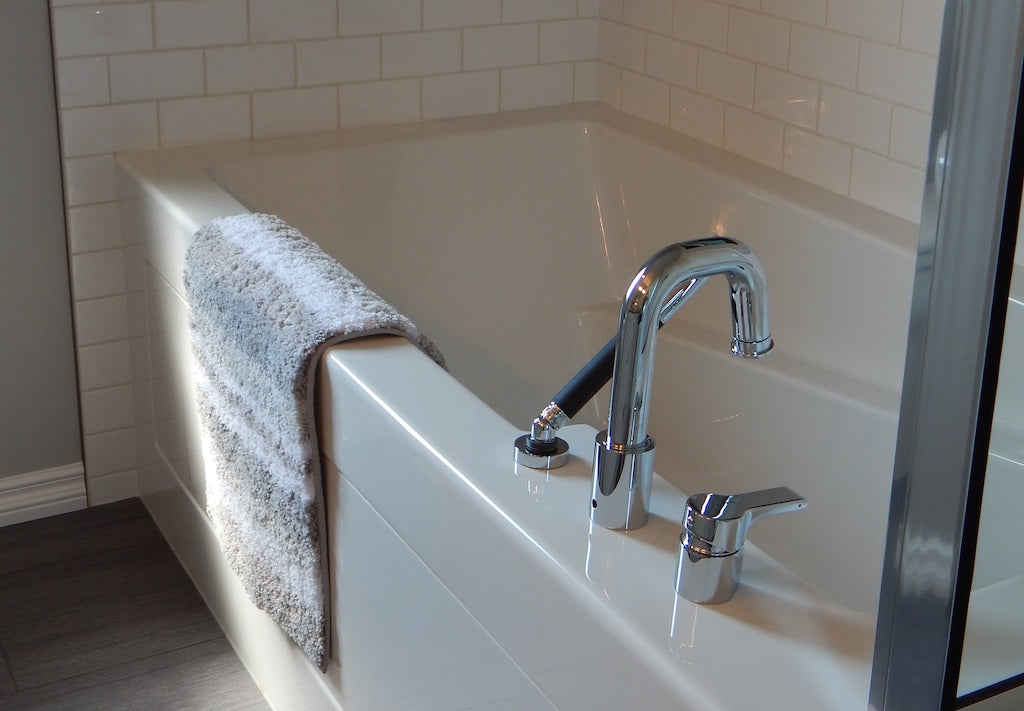
Wobble Wedge® Plastic Shims Are Ideal for Bathroom Projects
When installing a new bathtub you will likely need to shim it so that it’s level. Wobble Wedge® plastic shims are perfect for bathroom projects because they won’t be affected by water. Here’s how to install a new porcelain bathtub:
- Be sure to protect the inside and front of the porcelain while installing the bathtub with portions of the cardboard box it came in.
- Next you will want to make sure the subfloor is as flat as possible. Consider tearing out the subfloor and replacing it if it’s particularly warped or uneven. Tubs often come with sound deadening and leveling pads for the underside. These will need to make full contact with the subfloor.
- Using skids, place your bathtub into position. Check it for level, in all directions, as well as vertically. Shim the tub as necessary with Wobble Wedge® plastic shims. Our soft plastic shims won’t damage the porcelain of the tub. Wobble Wedge® plastic shims can be stacked thanks to their patented interlocking ridges, so you can stack them to fill any space. Our plastic shims are ideal for bathroom projects, as the durable plastic shims won’t rot, warp or be affected by moisture.

- Once the tub is level, you will want to mark a reference line on the studs on all three sides of the tub. Then gently take out the tub and set it aside. To keep your plastic shims in place, you can tape them down to the subfloor.
- Measure the height of the flange on the top of the tub, this measurement shows you how far down you need to place the stringer on the studs. The stringer will carry the weight of the bathtub. Using the measurement you just took, mark the studs below your first reference marks on the studs. This indicates where the top of the stringer will sit.
- Cut a 2×4 the length of your tub, screw the stringer into place along the lower reference mark.
- Follow the manufacturer’s instructions for installing the drain. Work plumber’s putty in your hands into a snake and place it along the underside of the drain flange.
- Place the drain shoe on the underside of the bathtub and screw the drain flange in place. Secure it fully with the drain tool, and remove any excess putty.
- Now connect the overflow valve. Insert the rubber gasket into the overflow elbow, then place it behind the tub. Install the cover plate on the inside of the tub and attach it to the overflow elbow and gasket. Take the overflow pipe and drain pipe and make a tee connection between them. If your tub has a drain strainer, attach it now to the drain.
- We’re almost done with installing the bathtub! Very carefully move the bathtub along the skids back into position. Be cautious to not move or knock the drain assembly. Once it’s in position the flange should rest on the stringer that you attached along the back wall of the tub.
- Verify that the drain and overflow pipe aligns with the drain outlet in your bathroom. Connect the pipe from the tub to the drain outlet and tighten, be careful to not over-tighten.
- Make sure the top of the tub meets the reference lines that you drew earlier on the studs. If not you can add more Wobble Wedge® plastic shims to bring the tub up to level. Once it’s level, attach the tub flange to the studs with roofing nails. The wider head of the nails will hold the flange in place, DO NOT use screws for this. Nail all the way around the tub, even down the front sides into the studs.
- Now your tub is installed! The last component is the spout and attaching the water lines. You are now ready to install drywall, tile, baseboards, finishing moulding, and whatever other design elements you want to include. Be sure to wait 24hrs before using the tub to make sure all of the seals have fully set.
PLEASE NOTE: Follow any manufacturer instructions that came with your bathtub.
Add Wobble Wedge® plastic shims to your toolkit today!


