Plastic Shims Are Perfect For Use in Bathrooms
Installing a shower enclosure is a great way to update your bathroom and improve the value of your home. While installing you will need to use shims to make sure that the unit is level. We highly recommend using Wobble Wedge® plastic shims because they are water resistant. They won’t rot or breakdown over time, making them ideal for use in bathrooms. Here’s how to install a shower enclosure with Wobble Wedge® plastic shims:
How to Install a Shower Enclosure
These instructions assume you have removed your old shower/tub, have chosen the correct size insert for your space, and have an empty opening ready for installing the new shower. Please note that you should always follow the manufacturer’s instructions that came with the shower enclosure.
- Verify the level of the subfloor and walls. It is particularly important that the floor is level so that the shower will drain properly. Ripping out the subfloor and installing new so that it’s level is a good idea if it’s very uneven. Wobble Wedge® hard plastic shims can be used to correct any variations in the subflooring by placing them on the studs under the subflooring. When screwing down the subfloor, be sure to place screws in the same locations as the plastic shims to keep them in place. If it’s close to level, you can do some additional leveling during the shower pan installation.
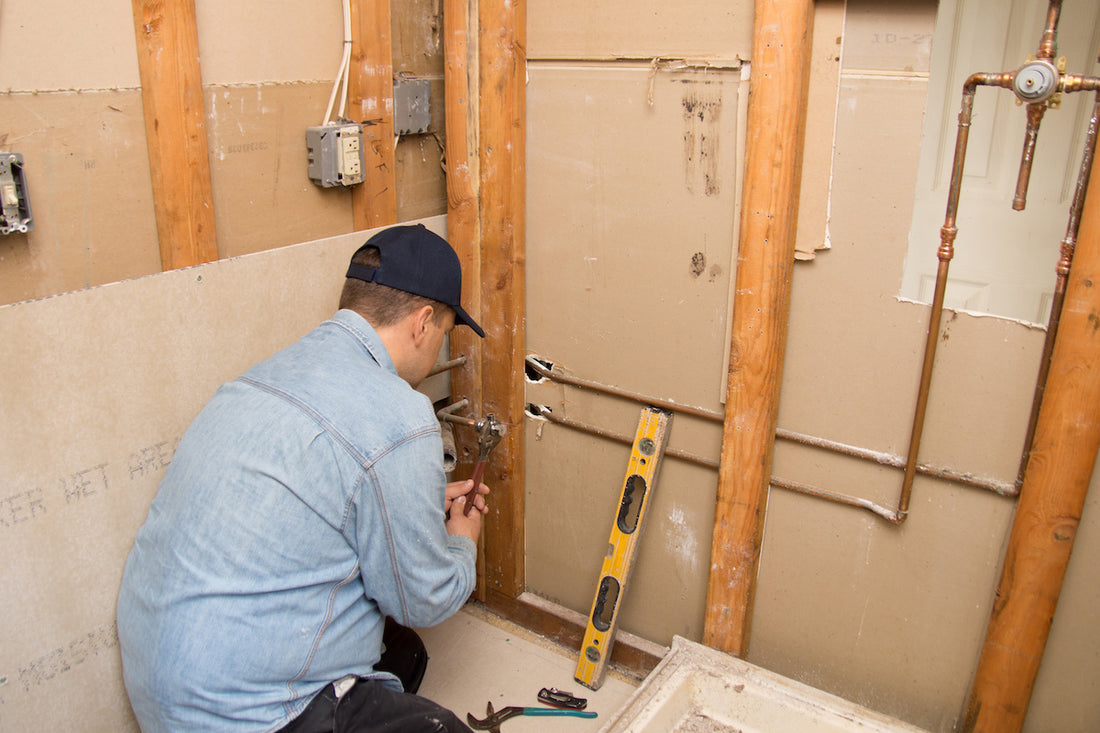
- Rough in the drain line and plumbing for the showerhead and control valve on one side of the shower wall.
- Now it’s time to dry fit! Place the shower base into position and check for level on all sides. Add Wobble Wedge® soft plastic shims as necessary to bring it up to level. Tape the plastic shims into place. It is also recommended to place a piece of cardboard in the shower base to protect the finish while you work.
- Once the base is level, mark the top edge of the base with a pencil on the studs along all three sides of the alcove. Now we’ll dry fit the walls. Start with the back wall of the shower, gently place it in position, locking the bottom tabs into the base. Hold it in place with tape so you can position the side walls.
- Lock the side wall in place (the one without the plumbing fixtures). To fit the third wall you will first need to cut the holes for the plumbing fixtures. Measure the distance from the edge of the back wall panel to the center of the valve, now measure from the center of the value to the top of the shower base panel. Transfer these measurements to your third wall panel.
- Place the third panel on a flat surface to cut out the holes. You will want to use a hole saw for this, and make sure that the size of hole you are cutting is smaller than the cover plate for the fixtures. Drilling from the finished side will give you a cleaner cut. Once you’ve cut the holes, dry fit the third wall in place.
- Verify the level of the walls of the shower enclosure. If they aren’t level, place soft plastic Wobble Wedge® shims behind the panels along the studs to bring it to level. Tape the plastic shims in place (you will nail them into place later). You can trim the plastic shims with snips or a knife to the right size if needed. Once it’s level, mark the top of the flange (the top of the wall where the nails will hold the walls to the studs) on all the studs around the walls. Carefully remove the walls and shower base.
- If there are low spots on the subfloor, you can place gypsum plaster or bricklayer’s mortar on the low spots of the subfloor. Now place the shower base back into the alcove, remove the cardboard. Recheck it for level, adding any additional plastic shims as necessary. Make sure it’s correctly positioned over the drain. Using silicone caulk, apply a bead to the space between the shower pan and the drain and around the lip of the underside of the drain flange. Screw the flange into the drain and install the strainer into the drain, tightening both in place.
- Now we’ll secure the shower base into place. Pre-drill holes around the flange and into every stud. Use roofing nails to attach the shower base to the studs. Place the cardboard back into the base to protect it while you finish installation.
- Now place the back wall into place, locking it into the shower base. Pre-drill holes through the flange along every stud at the top and down the vertical side flanges, 8 inches on center for the sides. Secure the wall to the studs with galvanized roofing nails. Be sure that the nails go through your Wobble Wedge® plastic shims that you’ve placed along the studs, this will secure them in place. Repeat these steps with the side wall without plumbing fixtures.
- Fit the third wall in place, verifying that all plumbing fixtures line-up properly. Repeat the pre-drilling and nailing as in the previous step.
- Now to sealing, one of the most important steps to prevent leaks and moisture issues. Consult the manufacturer’s instructions for sealing the unit. Some enclosures will require caulking, some will not.
- You’re almost done! Install water-resistant green board on the rest of the walls in the bathroom. It should overlap the flange on all sides, but leave a ⅛ inch gap to allow for caulk. Prime and paint the walls, and caulk the gaps between the drywall and the flange. Now install the fixtures and trim pieces per the manufacturer’s instructions.
- Congrats! You can now install a shower enclosure!
PLEASE NOTE: Follow any manufacturer instructions that come with your shower enclosure kit.
